IntelliJ IDEA
Download the IDE from the official download page for your operating system. After successful installation, open it and follow the plugin configuration instructions below.
Plugins
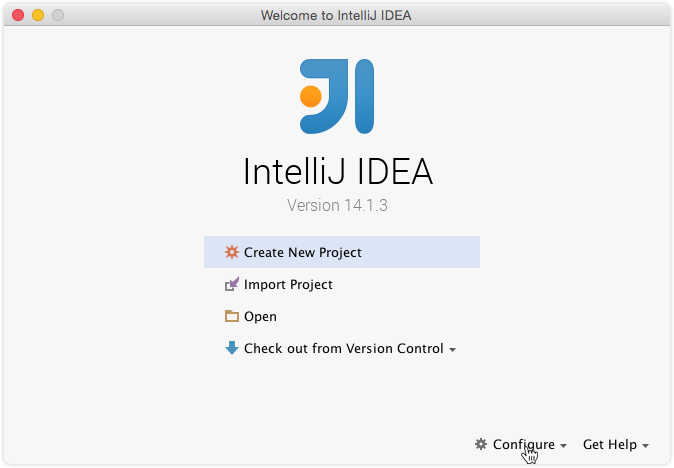
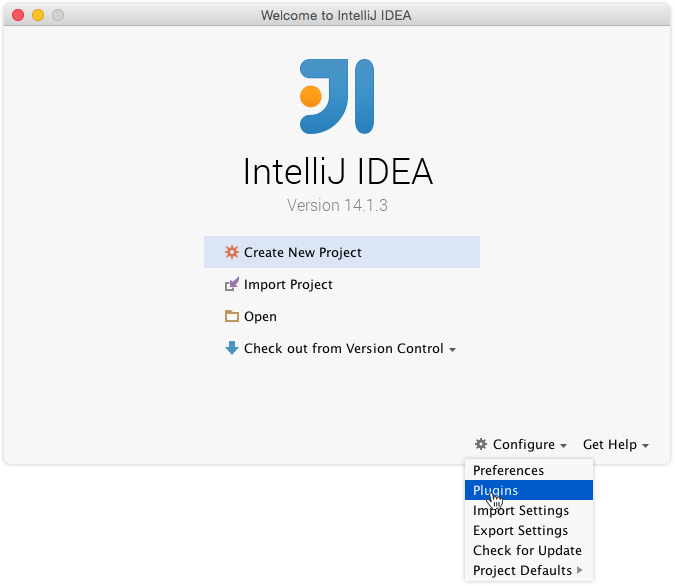
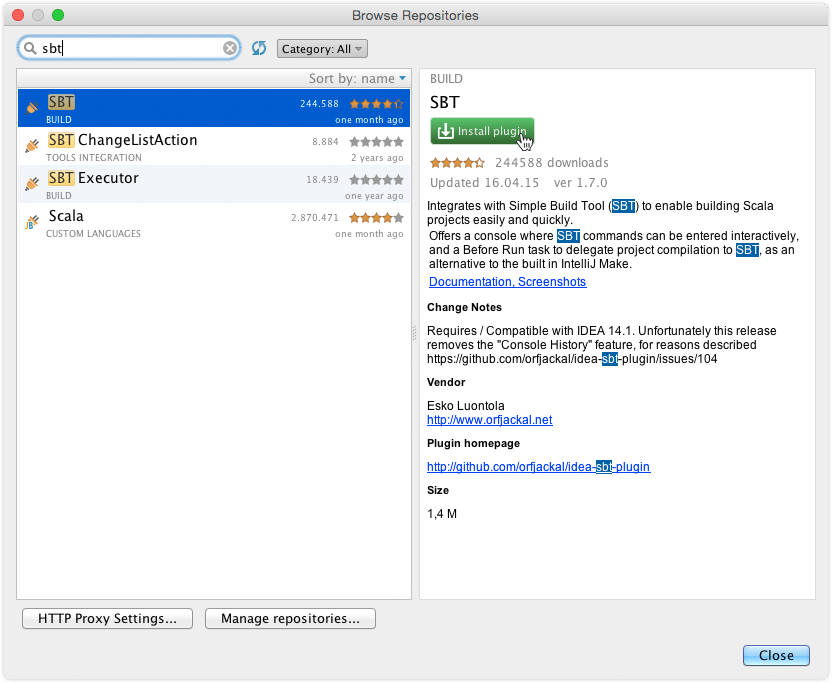
When IntelliJ IDEA has finished loading and prompts its start screen, it's necessary to install the Scala and sbt plugins first.

Now close the settings and restart IntelliJ IDEA.
Troubleshooting
IDE integration tends to break easily. If it doesn't work for you, have a look on the methods below to overcome common issues.gen-idea
If the IDE import does not work out, you can let the gen-idea sbt plugin generate the configuration files instead.
gen-idea is a sbt task that generates configuration files for the IntelliJ IDEA. To install the gen-idea plugin create the file ~/.sbt/0.13/plugins/gen-idea.sbt (the filename is arbitrary) with the contents below.
resolvers += "Sonatype snapshots" at "https://oss.sonatype.org/content/repositories/snapshots/"

addSbtPlugin( "com.github.mpeltonen" % "sbt-idea" % "1.7.0-SNAPSHOT" )
This makes the gen-idea sbt command globally available.
Now, navigate your terminal to the project root directory and run sbt gen-idea. This will create IntelliJ IDEA 13 configuration files, but newer versions of IntelliJ IDEA are able to convert the configuration to their appropriate format.
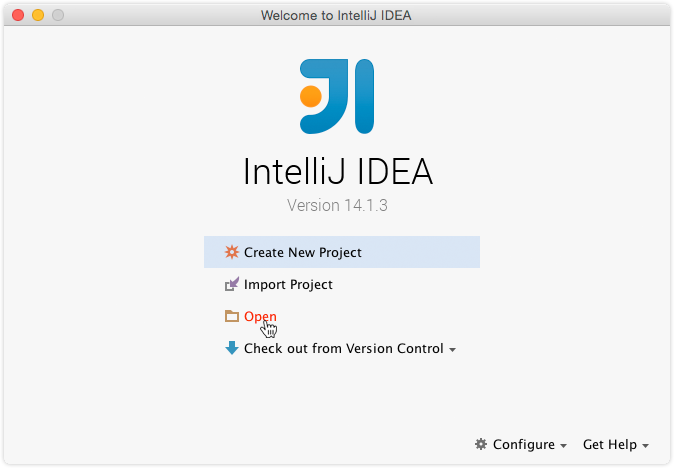
You can now chose the Open option of the IntelliJ IDEA and select the root directory of your project.
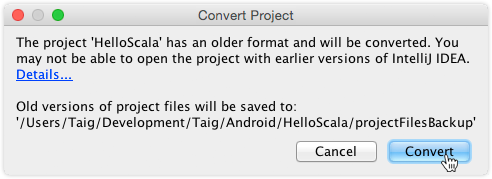
Converting the project files only needs to be done once at the initial setup. When the IDE finished loading you may delete the /projectFilesBackup folder.
Import the Android dependency explicitly
If your setup is basically working, but imports of the Android SDK are red, you can fix that by manually importing the android.jar. Go to File → Project Structure and change the SDK of each module (in the Dependencies tab) from Android to a simple Java SDK. Then, add the android.jar via + → JARs or directories and navigate to $ANDROID_HOME/platforms/android-x/android.jar.
This approach does unfortunately sacrifice the IDE source code lookup for Android sources.
Start all over
If everything fails, remove the .idea* directories from the project's root directory and start over by importing the sbt project.
Further reading
- IntelliJ IDEA
Official product page
- IntelliJ IDEA Editions Comparison
Comparison of the Ultimate and Community Edition
- Scala plugin for IntelliJ IDEA
Official product page
- sbt plugin for IntelliJ IDEA
Official product page